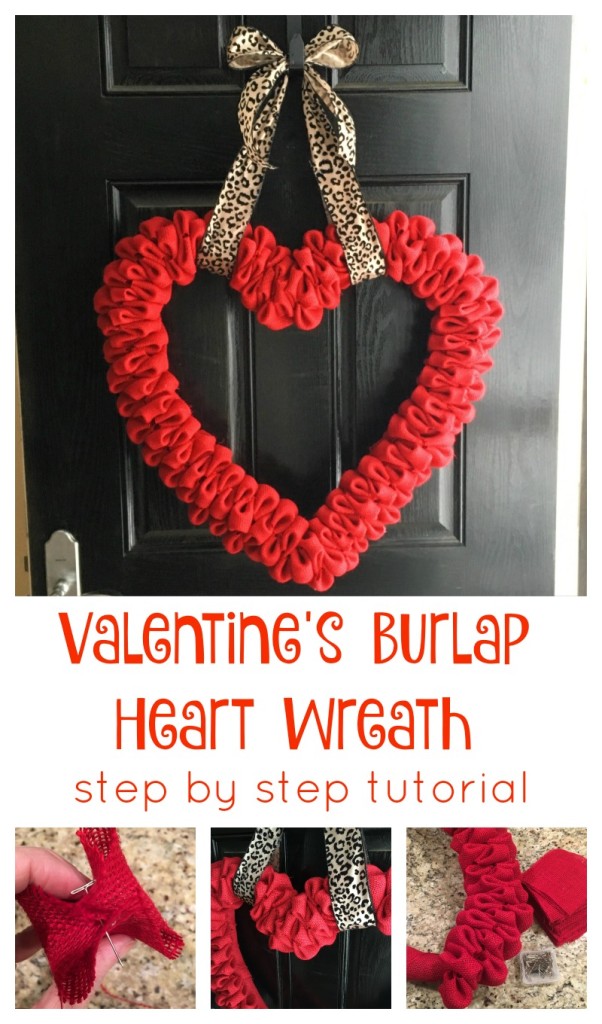
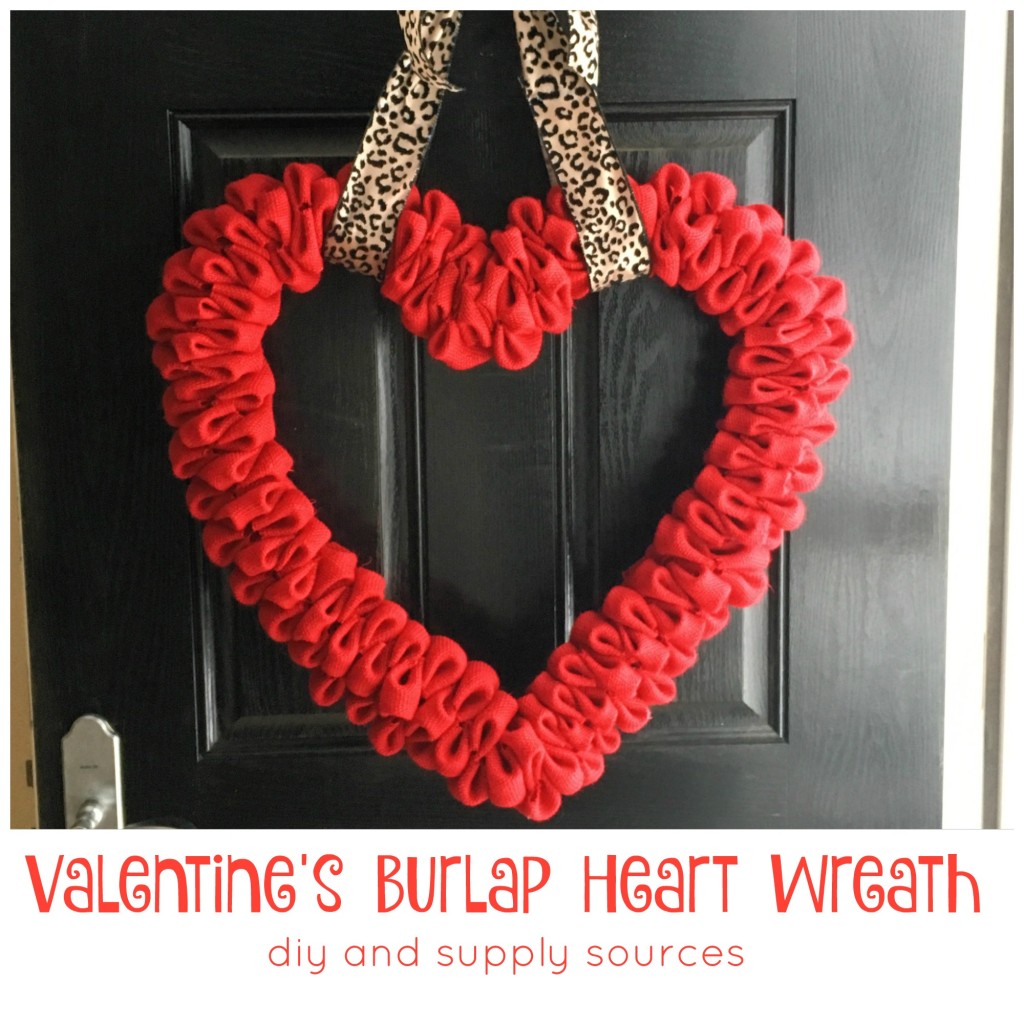
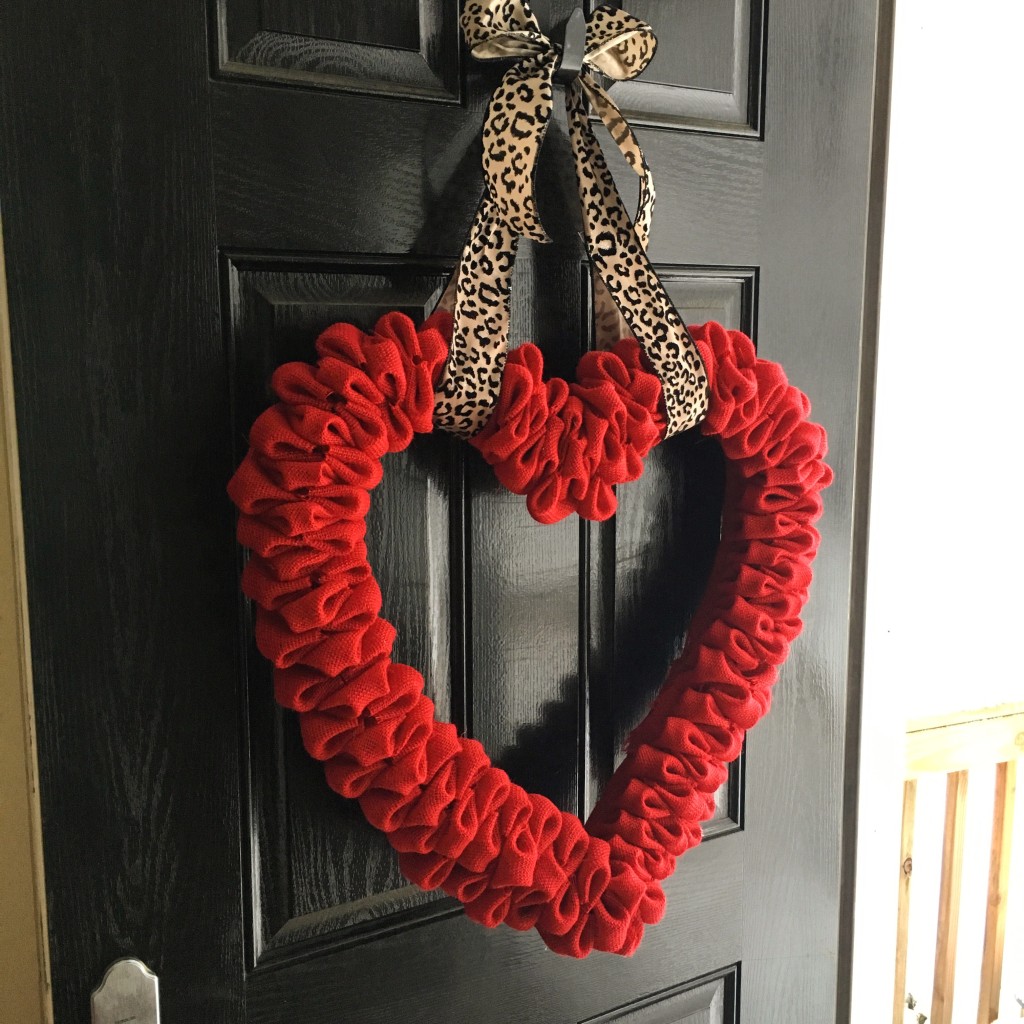
I love decorating for Christmas, and again come Spring. But there is always those months in between that I’m just not as excited for. You know, those snowy, cold, dreary months (at least up here in New England!) And then there is the matter of my front door. I feel an evergreen arrangement can stay on the door into January but then it gets to that point where it looks like you forgot to take down Christmas. I’m not ready to break out the floral wreaths yet, so that is when I turned to Pinterest to find inspiration for this Valentine’s Burlap Heart Wreath.
I was able to find all the supplies at Hobby Lobby…except for the wreath form. They only had a 12″ foam heart wreath form and I felt like that would look lost on my big black front door. So I ended up making my own and will post the tutorial for that here very shortly!
Supplies (for a 18″ heart wreath):
1 – 16″ foam heart wreath form: $11.99
Red burlap: This roll here or 2 yards red burlap: $6.38 ($3.99/yard but used my Hobby Lobby 40% off coupon on this)
2 packages T-Pins 100 count: $3.98 total
fun wide ribbon: $1.98 (was on sale at Hobby Lobby!)
fabric scissors – this link is for my favorite pair of fabric scissors I own!
Total: $24.33!
What I did:
Start by cutting about 3 strips of burlap measuring about 4″ x 60″ each strip. This is the perfect use for the uneven edges of the burlap as we are just using this to wrap your wreath form.
Using either hot glue or pins start wrapping your wreath form with the strips of red burlap. It doesn’t have to be perfect we are just trying to avoid having any black or white (depending on the color of your form) peaking through our bubbles of burlap.
Cut the rest of your burlap into 4″ squares.
To form your bubbles start by folding a square into a triangle. Then tuck each point in to meet the other points. Here…it is easier to just show you:

Next take one of your T-pins and pin it through the points making sure you stab each point with the tip of your pin. I also found it helped to apply a nice amount of hot glue to the back at this point. Not only does the hot glue help the points stay together (in case you missed stabbing one) but it also helped with attaching it to the wreath form.
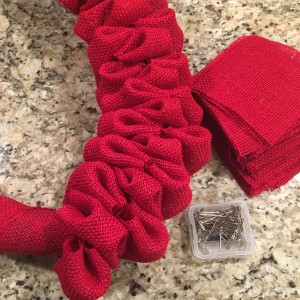
Now it’s time to start pinning them to your wreath form. I tried to make my burlap bubbles line up nice and neat but I’ve also seen it where they are stuck here and there. No right or wrong…this is your project! While the hot glue was still hot I pinned them on like so:

Keep folding, gluing and pinning until you fill in the entire heart shape!
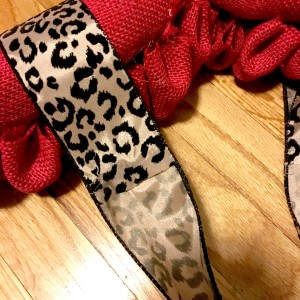
I then got this fabulous leopard ribbon (leopard goes with everything, by the way!) and simply looped it into the heart loops and hot glued on the back. Once it was on my door I figured it needed a bow so I made a quick bow and hot glued it to the top of the ribbon I was using to hang it.
I just looped the ribbon over the heart loops and used hot glue to attach the ribbon to itself.
And that’s it! I’m so excited with the results. And to think that it cost just a little more than $17.00. Not bad! I’ll finish up the tutorial for the heart form and will link back here.
With Love, Jennifer



What a cute wreath. I need to try this – I am still using this really old wreath I made years ago for Valentines Day and every time I get it out I think about making a new one. Thanks for the info on how to make it – pinned. Stopping by from Freedom Fridays link up.
Thanks for stopping by! 🙂
I need to make one of these for my front door. Love!
We just got a ton of snow and this red wreath is adding a ton of color to the front of my house 🙂
This wreath is so sweet for Valentine’s Day! Thanks for sharing it at Craft Frenzy Friday on Mom Home Guide
Thanks for stopping by!
This is adorable! Thanks for the great tutorial!
Thanks! 🙂
This is beautiful! Thanks for the detailed tutorial on how to make it! 🙂
What a great idea, it looks beautiful. Great tutorial too 🙂
Thanks for linking up to Creative Mondays
Jennifer, This is really pretty! Love using red burlap. Thank you for sharing with us at Brag About It! Pinned to share.
~Laurie
Great looking wreath! Thanks for linking up for Friday Favorites. I’m featuring you this week.
Hi there
Just stopped by to let you know that I featured this on my Saturday Spotlight post this week!
Saturday Spotlight
Thanks again for linking up! Hope you have a great weekend!
Jill @ Creating my way to Success
Super cute! Love this, will have to try this out!