Disclosure: This shop has been compensated by Collective Bias, Inc. and its advertiser. All opinions are mine alone. #SKSHarvest #SeasonalSolutions #CollectiveBias
Anyone who watches my Instagram stories knows as a hobby I’m a beekeeper (with my dad who is the master gardener!). I had already been planning on sharing a DIY on how I make beeswax candles. So I was so excited when SKS Bottle & Packaging wanted to collaborate to bring you an easy DIY using their amazing supply of bottles!
First a little about SKS…I had actually never heard of the company but was so glad to learn of them because they seriously offer every type of bottle needed for crafting, canning, food storage. They have been around since 1986 and honestly have every type of packaging imaginable…over 6,000 to be exact from glass, plastic and metal as well as all the lids you could imagine! Over the past 25 years SKS has grown into a multi million dollar company and truly is an industry leader. Also most of their glasses are made in the USA and are 100% recyclable!

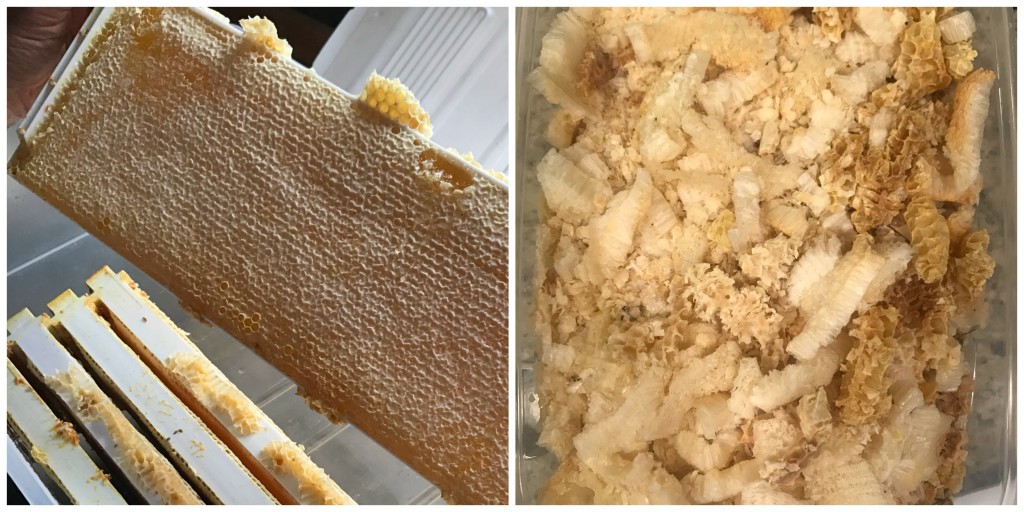
As a beekeeper we have an abundant supply of beeswax when it is honey harvesting season. While it takes quite a bit of effort to turn the beeswax flakes the bees produce into a usable block of purified beeswax the benefits are all worth it (but you can just by a block of beeswax at the craft store)! Did you know that burning beeswax candles actually purifies the air? I burn one in the room my dog sleeps in and it is amazing how it removes any odor from the room without covering it up with a different scent! For a boost in odor fighting I even add lemon essential oils. The smell of beeswax/honey and lemon is so refreshing!
The one problem with beeswax is that it does burn very hot. This can cause some glass jars to crack or the wax to not melt evenly so you get the tunneling effect with a lot of wasted candle. But by adding some all natural coconut oil the wax melts easier without loosing the benefits of beeswax candles.

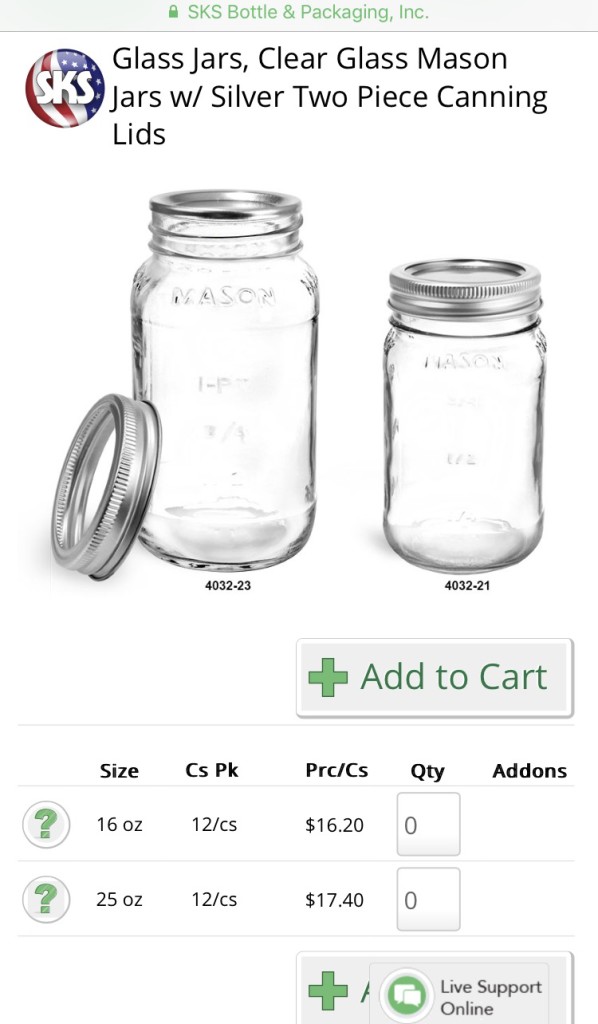
For this DIY I chose the SKS Clear Glass Mason Jars. I wanted the finished candle to have that traditional mason jar feel and these jars fit the bill! If you are using these jars for canning they come in 2 sizes and also have a 2 piece silver plastisol lined canning lid. The plastisol liner is activated by heat to create a tamper evident hermetic seal…perfect for jams and other treats! If you do use any leftover jars for canning be sure to test the products with your canning technique to ensure the best seal.
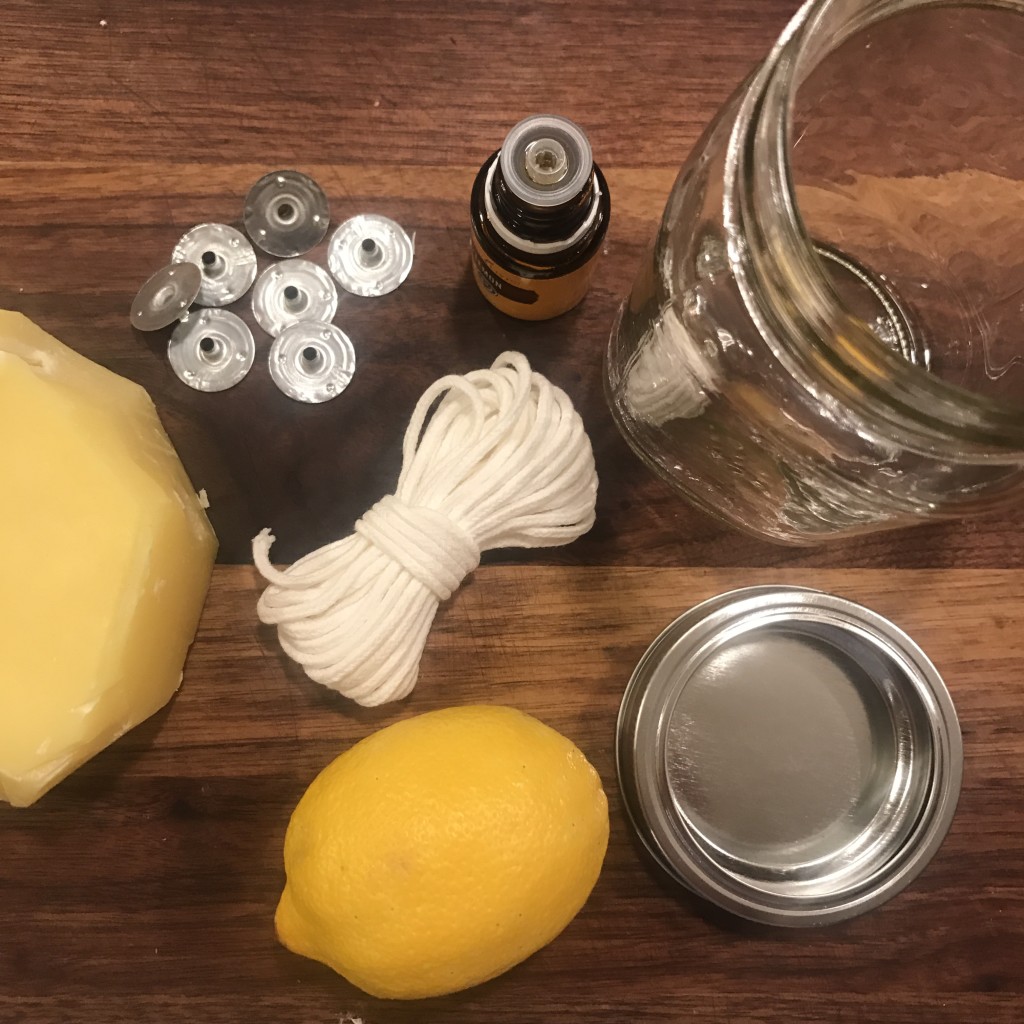
- SKS Clear Glass Mason Jars – 16 oz
- Cotton candle wick with tabs (local craft store) – about 8″ pieces
- 1 pound Beeswax (found at your local craft store)
- 1/2 cup Coconut Oil
- 20 drops essential oil of your choice (optional)
- Lemon zest if adding lemon essential oil
Helpful tools:
- Old 2 cup glass measuring cup (that you don’t mind wax getting on)
- Large saucepan to boil water
- Hammer and screwdriver to break up beeswax
- Clothespins to hold the wick in place
- Wooden skewer for stirring
1. In your saucepan bring water to a boil to create a double boiler.
2. Using the hammer and screwdriver break off chunks of your beeswax. This helps the beeswax to melt faster. For easy cleanup of any wax that remains on the screwdriver just dip it in the boiling water and then carefully wipe clean with a paper towel.
3. Add the beeswax chunks (1 pound worth) and the 1/2 cup coconut oil to the glass measuring cup and carefully place in the boiling water. It will take a while for the beeswax to melt but it will happen! Use the skewer to stir to make sure every little bit melts.
4. Once all melted you can now add your essential oil of choice. Or leave as is for a faint beeswax/honey smelling candle. I used about 20 drops of lemon essential oil.
5. CAREFULLY pour a little bit of the wax into the bottom of your mason jar, about 1/2 inch worth. Using a skewer push the tabs that are attached to the cotton wick to the bottom of the mason jar and hold in place with the skewer while the wax hardens for minute. For this size candle I used 2 wicks.
6. Clip clothespins onto the top of the wick and balance the clothespins on the edge of the jar. This will help keep the wick from falling into the candle while the rest of the wax hardens.
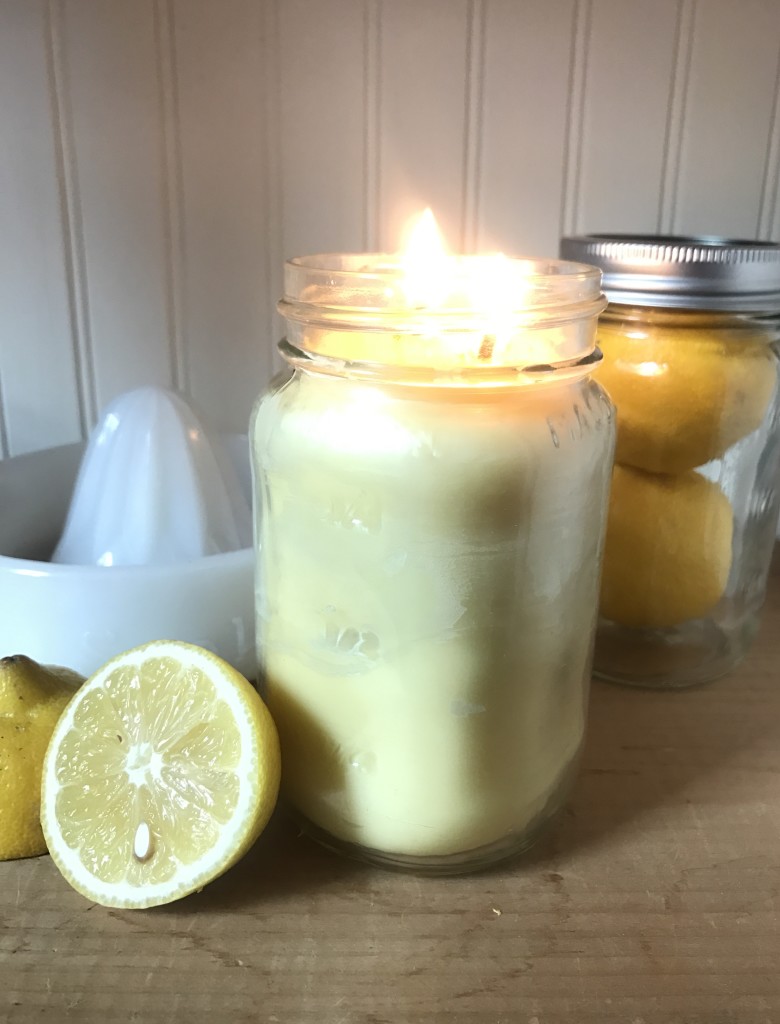
7. Finish pouring the rest of your wax into the jar. Fill all the way to the top. At this point don’t move your jars until they are completely cool. As the top starts to get hard you can zest some lemon zest for decoration.
8. Let cool completely then trim your wax to about 1/4″!
You are now ready to burn or give! Be sure to click on the image at the very end of this post to shop the exact SKS Clear Glass Mason Jars I used or visit https://www.sks-bottle.com to shop all their fabulous bottles for all your fall crafting and canning needs.
With Love, Jennifer


What a fun tutorial! I love that you’re using your own beeswax! [client]