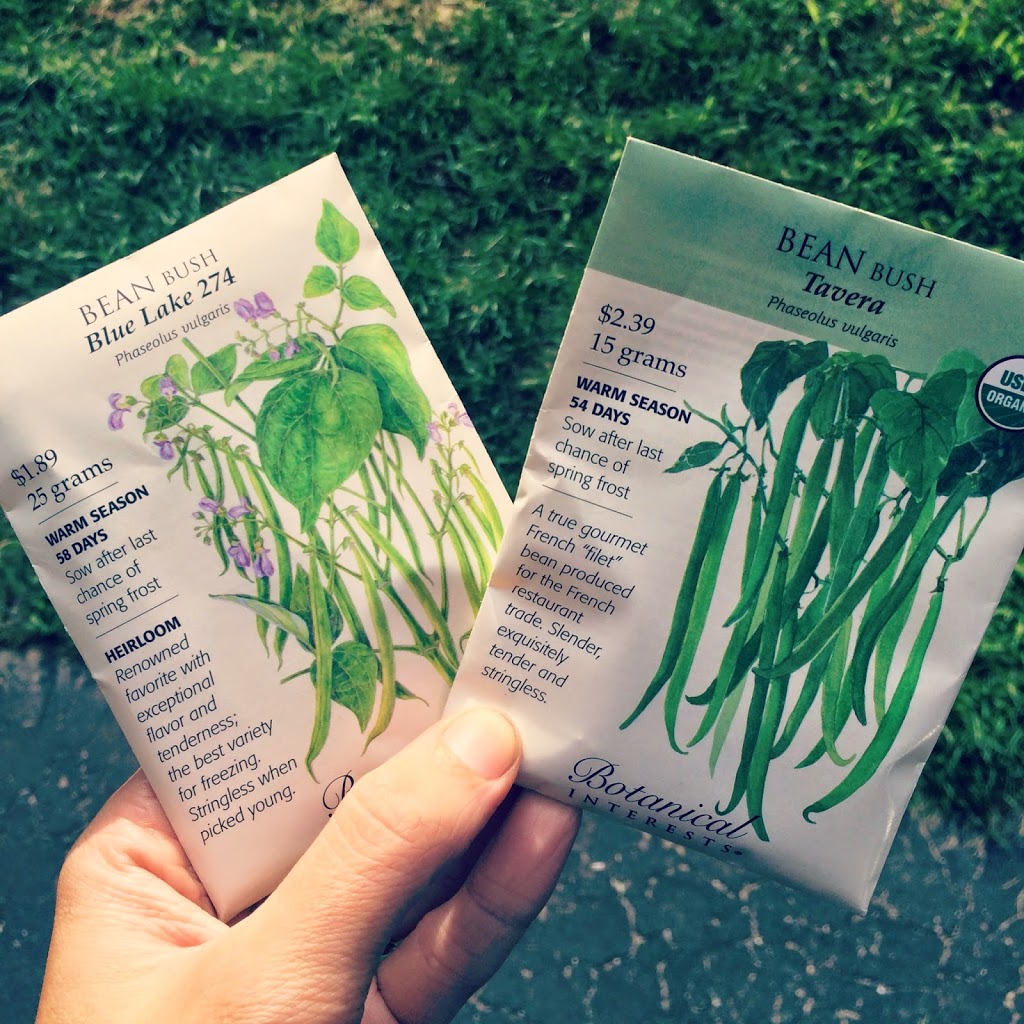
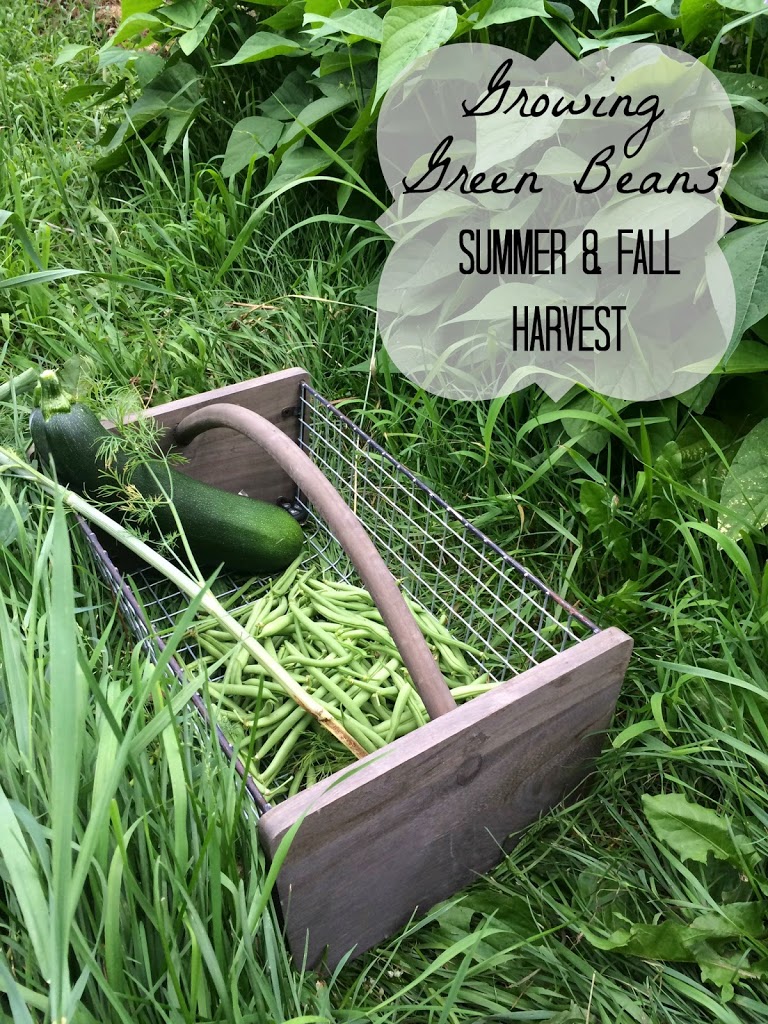
 I just learned something cool. Then again I am always learning new gardening tips from my dad when I visit him in his 100% organic garden! Did you know it isn’t too late to start beans (we live in hardiness zone 5)? With a little extra work closer to harvest you can plant bean seeds 2 months before your first frost. For us that means we can plant up till about August 1st!
So what did I do as soon as I found this out (and as soon as I found out Daddy had a little extra space in his garden)…I bought more bean seeds!
***Please note that the dates given in this article are based on last frost date of May 11th & first frost date of September 26th. I use http://www.almanac.com/content/frost-chart-united-states/ to figure out our frost dates. Please calculate planting times based on your area’s frost dates.
Below I’ve written out the tips I have learned from my dad on how to start and grow 100% organic green beans! But even better yet, watch the video and hear some of these great tips from the gardener himself!
When to plant:
- You can plant your beans starting about 1 week before your last frost date if you remember to cover the ground with blankets every night. If not, then you can wait until your last frost date to get the seeds in the ground.
- A second planting for Fall harvest can be planted up to 2 months before your first frost date (in our case, August 1st). Just make sure you cover your plants at night in the Fall if it starts getting into the mid to upper 30s.
Preparing for planting:
- Prep your garden bed with a good compost or manure. Remove weeds and loosen soil.
- For 1 packet of beans mix about 1/2 tsp inoculant powder (organic and found at Harris Seeds) with just enough water in a small bowl to make a paste. Add the entire packet of beans and let sit for about 5 minutes.
- Using a hoe, prepare the soil by making a small trench down your garden bed. My dad’s garden beds are about 12 feet x 5 feet. He does 2 rows of beans evening spaced and going the whole length of the bed. But you can definitely do a smaller area!
- Prepare the trench with a handful of Chickity Doo Doo (found on Amazon). We use 1 handful for a 12 foot row.
Planting:
- Follow the package instructions for how far apart to plant the beans. The “french variety” my dad refers to in the video is actually called Espada and they need to be planted about 3-4″ apart.
- When we plant we scatter the seeds the width of the trench (which would be the width of the head of the hoe). We don’t plant the seeds in a straight line but instead scatter in a zig zag motion (I will update with a picture later)
- Cover the beans with an inch or so of soil (again following package instructions) and water.
- Typical vegetable gardens like about 1 inch of water a week. If it isn’t raining, make sure you water your plants!
- Once the plants have their second leaves, or are about 4 inches tall, give the row a watering with Fish Emulsion. Add 2 Tablespoons per gallon of water.
- About 2 weeks later spread another handful of Chickity Doo Doo on the row.
- If you feel your beans need a little more help you can reapply another application of the Fish Emulsion once you start seeing a few blossoms. That is the great thing about Fish Emulsion…you really can’t burn the plant!
- Make sure you check out my blog post on how to blanch & freeze beans!
- If this is the Spring planting then you can plant another vegetable once you have harvested all your beans and removed the plants (make sure you put them in the compost bin)! Some ideas are: more beans, carrots, spinach, peas.

With Love, Jennifer & Daddy the Gardener

